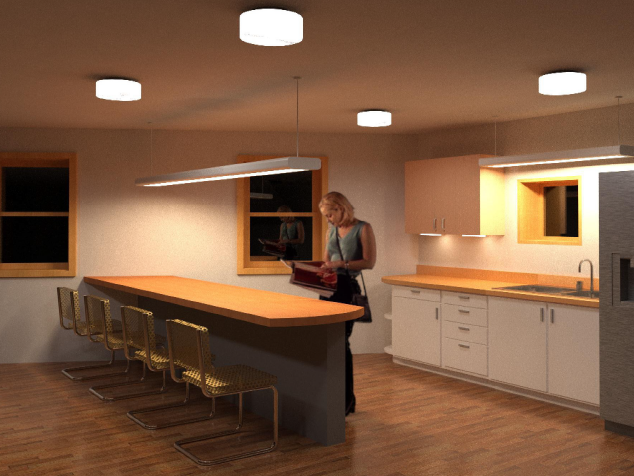
Screen capture from Revit
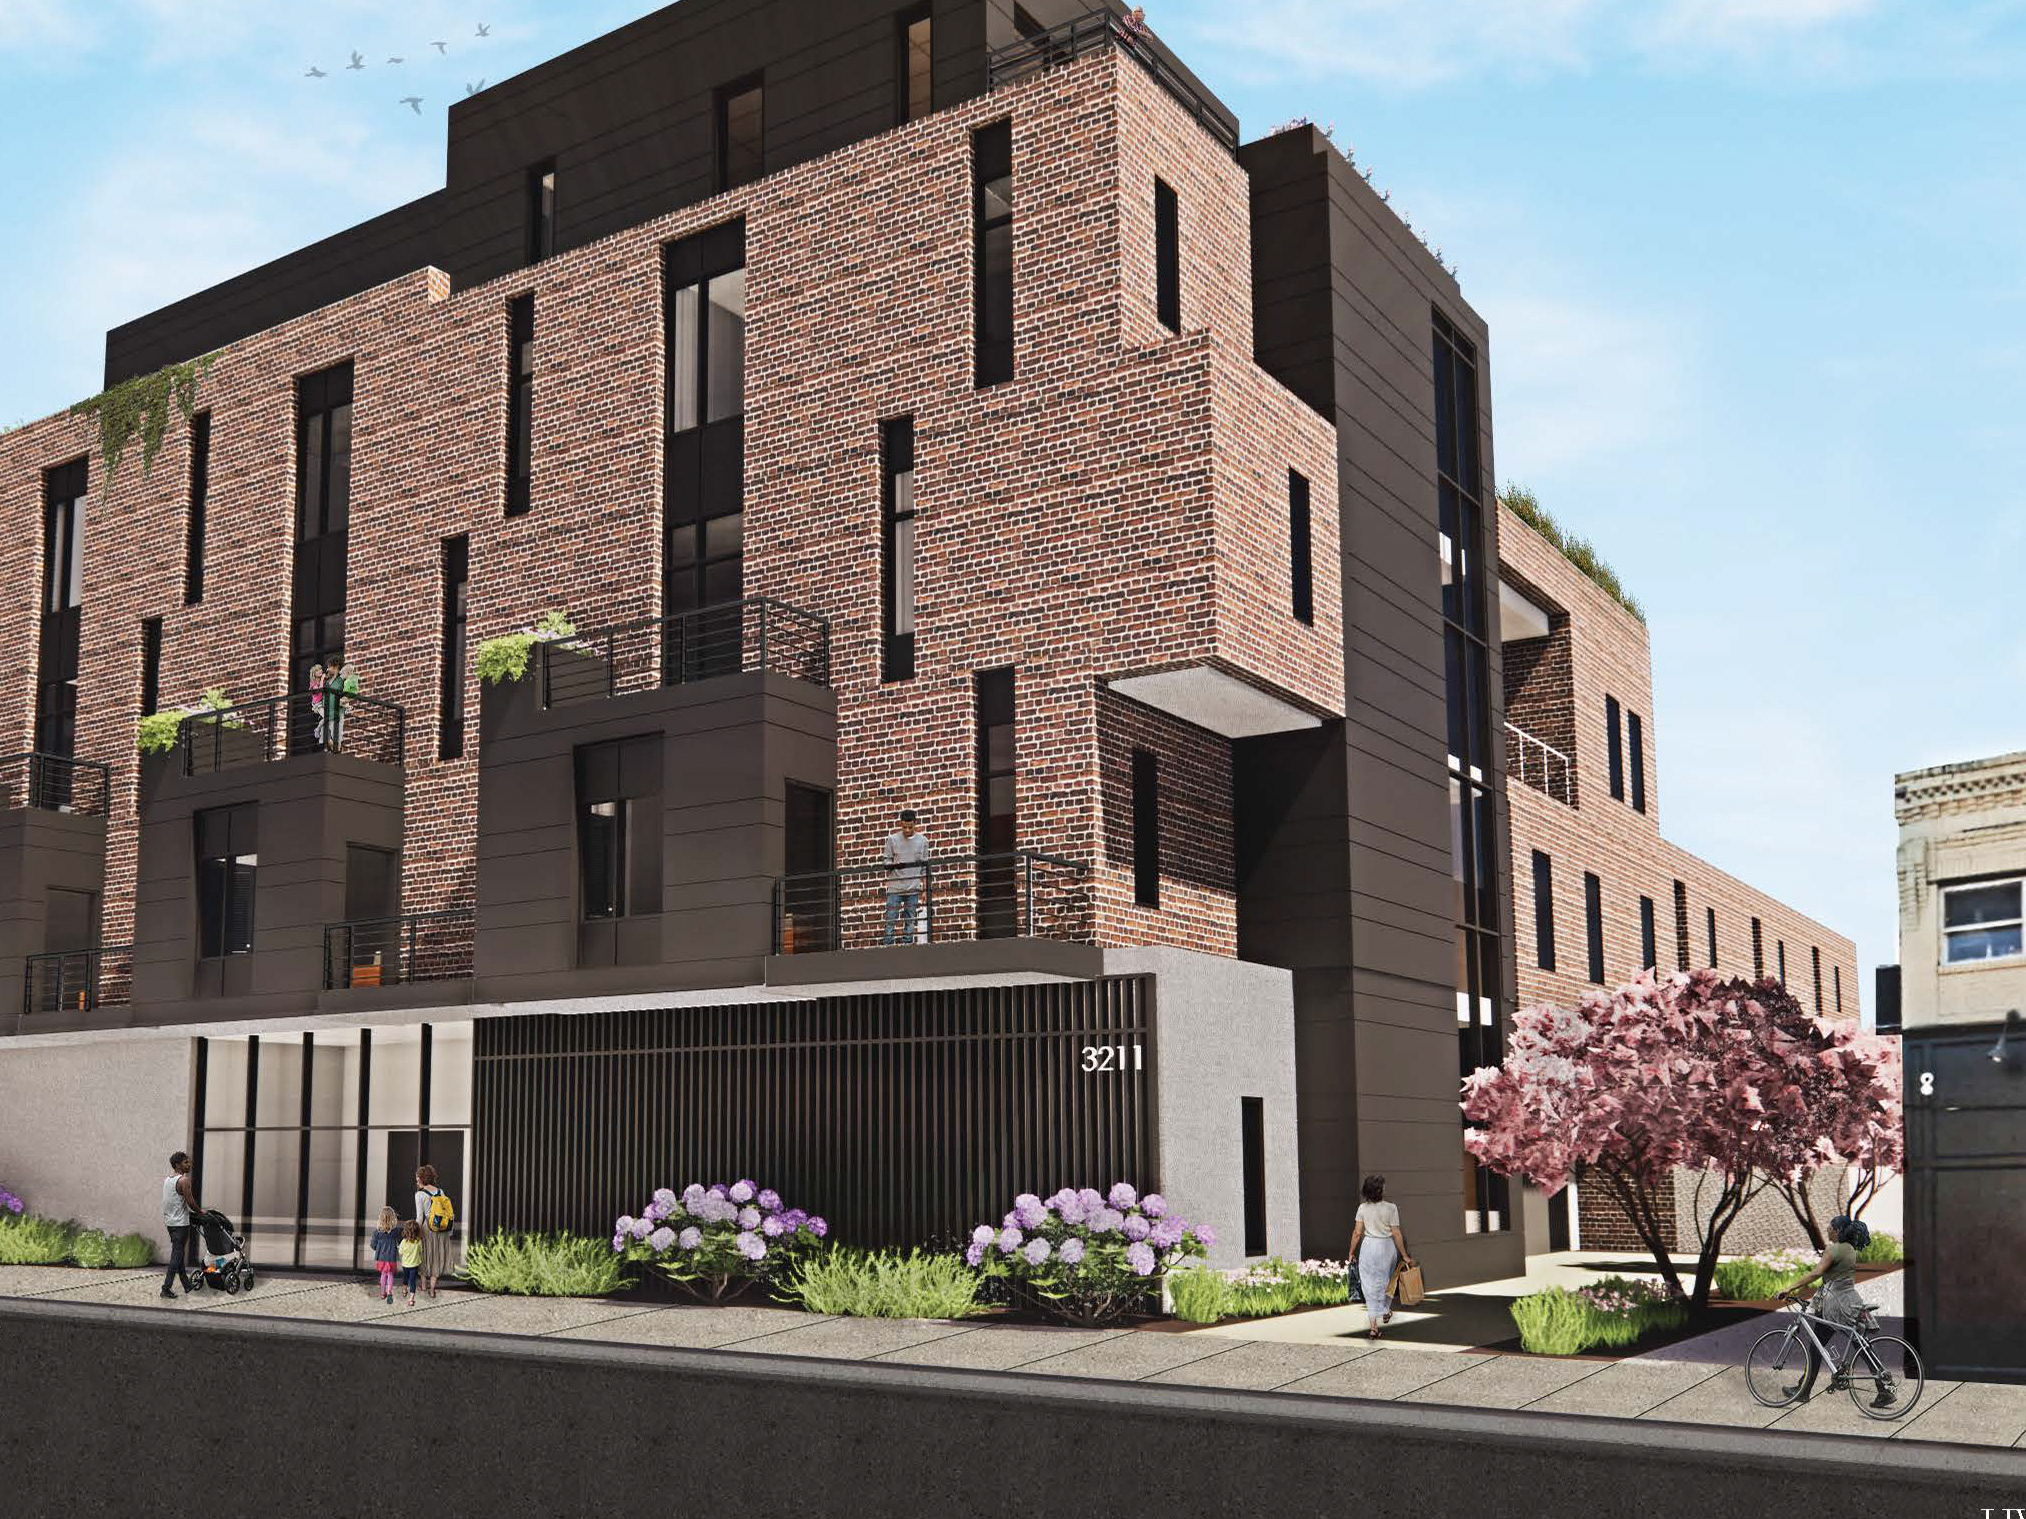
For my Design Studio 8 course, we reimagined a Philadelphia rowhome. This project was to allow students to develop a basic understanding of how to utilize Revit for 3D modeling.
The site we used is located at:
My design concept was to create a Rowhouse schematic that utilized the skill we learned in our previous Revit workshop. This workshop taught us how to create curtain walls, edit families, apply textures, creation of walls/floors/roof and how to place stairs & railings.
I placed a large curtain wall, that I designed, on the front facing façade of the building. To hide the level 01 ceiling / second level floor, I added spandrel glass to my curtain wall system (in gray).
Part of the project's requirements were to include an elevated exterior space; to achieve this I reduced the interior floor area of the second floor. The exterior patio is located above the kitchen, towards the rear of the house.
Level 01
Level 02
I organized the floor plans in a logical, cohesive manner. I wanted to place the master bedroom towards the front of the house, so this space could take advantage of the curtain wall system.
Basement Level
I was previously taught how to create view templates, as well as to edit the visibility graphics. This is how I created the textures and shading within the floor plans.
The most challenging part of this design was creating a window well, so that the bedroom in the basement would have some form of natural lighting. I wanted to keep the rear access available for storage (the surrounding homes use the basement as a garage).
